A Field Guide to Garden Microclimates: Observe, Map, and Work with Small Differences
Opening observation: On a single courtyard bench I can feel three different summers: the warm patch at noon under the southern eaves, the windy corner that dries soil by late afternoon, and the cool, damp strip beside the north wall where moss gathers. Those small variations are microclimates—local conditions that shape what grows. With close observation and simple mapping you can use them to make confident choices about plants, water, and daily care.
1. Make a slow observation: times, tools, and a sketch
Spend a week taking brief notes at different times of day. The goal is not precision instruments but repeated, calm observation.
- When: Check in morning (sunrise to 9am), midday (11am–2pm), late afternoon (4pm–7pm) and after sunset. Repeat across different weather.
- Tools: A small notebook, a pen, and a simple sketch of the space. Your phone can take photos and quick temperature readings but don’t rely on it for every check.
- What to record: Sunlight (direct, partial, full shade), wind (none, light breeze, gusts), surface temperature impressions (warm, cool), and soil feel (dry, damp, cloddy).
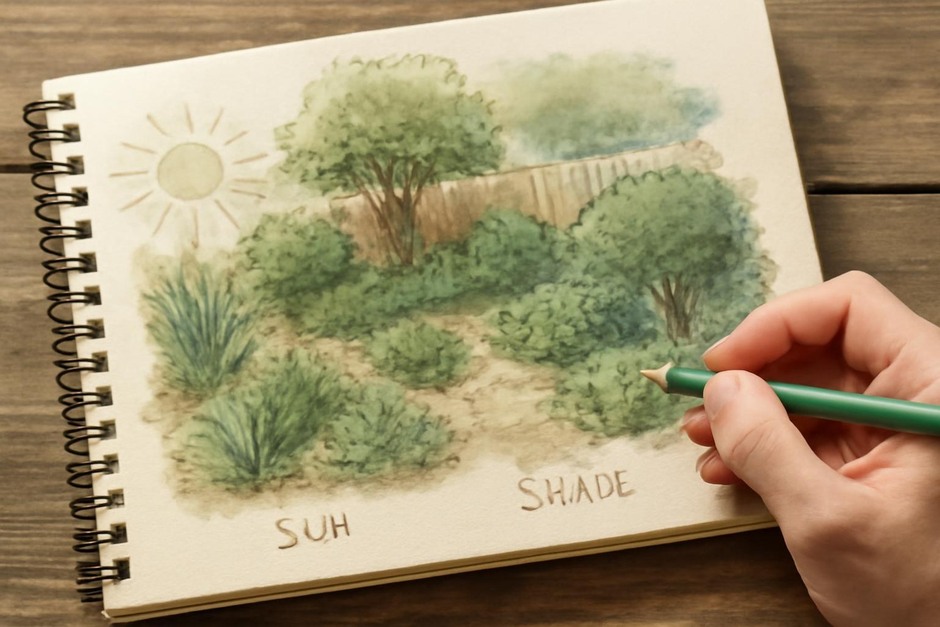
Draw a plan view of the space and mark shaded areas, where water gathers, and the spots that feel warmest. Even a rough map becomes a useful reference when choosing plants or placing containers.
2. Understand light and shade patterns
Light is the simplest microclimate factor to observe and the most decisive for plant choice. Note both duration and intensity.
- Duration: How many hours of direct sun does each spot get? Many vegetables and sun-loving herbs need at least six hours of direct sun; salads and shade-tolerant greens will do fine in fewer hours.
- Intensity: Noon light filtered through a tree is different from bright, unobstructed sun. Take midday photos to compare.
- Seasonal change: Track how shade moves with the seasons—high summer sun makes different patterns than lower autumn light.
Use your map to match plants to light: place sun lovers where direct light accumulates, and reserve the cool, short-sun corners for shade-tolerant herbs and ferns.
3. Read winds, warmth and water
Beyond light, wind and thermal mass shape microclimates. Walls, paving, and large containers store heat and release it at night; open spots cool faster.
- Wind: Notice the direction and strength. Wind dries leaves and soil; consider windbreaks like lattices or dense hedges for fragile seedlings.
- Thermal mass: Stone walls, brick paths, and water-filled barrels moderate temperature swings. Placing tender plants near these elements can reduce cold stress in spring and fall.
- Water movement: Observe where runoff collects after rain and which areas dry first. Amend heavy clay with organic matter where water pools and add drainage to containers that sit in low spots.
Small adjustments—moving a pot a meter toward a sun-warmed wall or toward shelter from prevailing wind—can materially improve plant health.
4. Practical responses: plant placement, soil, and simple structures
Once you’ve mapped microclimates, translate observation into modest interventions that respect the site.
- Group by need: Cluster plants with similar light, moisture and wind tolerance to simplify watering and care.
- Adjust soil locally: For dry, fast-draining spots add organic mulch; for wet, compacted patches mix in compost and leave roots of hardy plants to help with structure.
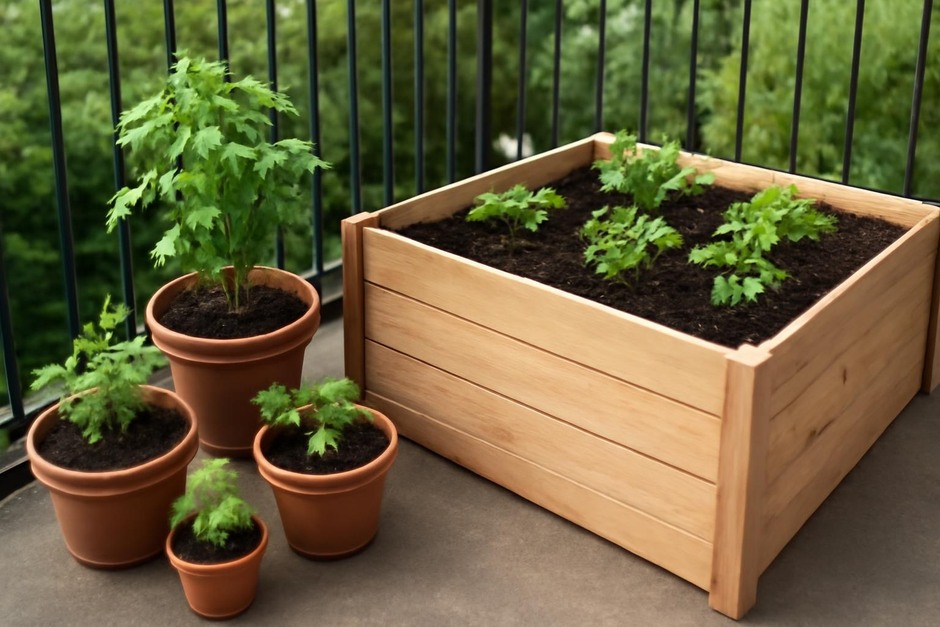
- Use movable elements: Pots, trellises and screens allow you to test different positions across seasons without permanent changes.
- Introduce small shelters: A simple board against a cold wall or a narrow hedge can reduce wind and create a warmer microclimate for seedlings.
Keep changes minimal and reversible. The best interventions are those you can tweak as you learn.
Measured conclusion
Microclimates are not problems to fix but patterns to understand. A week of patient noting and a few small adjustments will let you place plants where they will need less intervention and reward you with steadier growth. Over time your map becomes a seasonal atlas: a living record that helps you plan, choose varieties, and enjoy the subtle differences in your garden.
Practical exercise: This weekend, sketch your space, note sunlight at two times of day, and move one container by a meter. Observe changes over the next month and add the results to your map.